Finances
Invoices
Creating Invoices
Owners can create invoices for workers either individually or in bulk. To start the process, simply click the "Create" button from the Invoices landing page.
Next, choose who you want to create invoices for. Click "Add Ratecards" to select individual user, or "Add Teams" to include all users from a team. Note that only users with a ratecard will be added when selecting a team.
Then, select which business will be invoiced - these businesses can be managed in the Finances Configuration area. Since this is a Recipient Created Tax Invoice, the business chosen here is the invoice recipient.
Finally, select the dates for the invoice period, and the date of issue.
Once you are have input the required information, click "Create". A new draft invoice will be created for each worker, and it will automatically populate each invoice with the amounts from their check in data.
Processing Invoices
Once an invoice is created, there are a number of states it can have before it is finalised and paid.
Initially, all invoices are created in the draft state. At this point, the invoice is only visible to owners, and can be edited. Once an invoice changes state, it can no longer be edited. However it can be returned to the draft state at any time, except after being marked as paid.
Once a draft is finished, it can be moved to the submitted state. At this point, the invoice is sent to the worker for approval. From here, the worker can either approve or reject the invoice. Rejecting the invoice will require the user to add a comment, and will send it back to the owner. From here the owner will need to return the invoice to draft state to make changes and continue from there.
When a worker approves an invoice it is also sent back to the owner, this time in a finalised state. It can then be marked as paid once complete.
The final state is revoked, which is for any invoices that need to be removed. Revoked invoices will be hidden from display by default, and only paid invoices are unable to be revoked. They can be restored to draft state at any time.
The below diagram outlines the flow of invoice state. You can view the state history of any invoice by clicking the "History" button from the details page.

Bulk processing is also available, which allows you to perform the same action across multiple invoices. From the Invoices landing page, select the invoices you wish to process with the checkboxes. Then use the dropdown at the top right of the table to select which action you would like to apply. A popup will confirm the action you are about to take.

Invoice Rates, Tax and Super
Invoices are based on a worker's ratecard, which defines the default rates for the invoice, along with other information. While you can simply use all of this data as-is, it is customisable for each invoice.
Tax and Super
Tax and super rates are shown in the Details section of the main invoice page. They define the following for both:
- Enabled: Whether or not Tax or Super is used in the invoice. If No, then it is not included in any calculations.
- Rate: The rate that the Tax or Super is calculated at, as a percentage of the subtotal.
- Included: Indicates if the Tax or Super rate is already included in the worker's rates, or added on top.
Both of these rates are applied to the subtotal directly, so tax will not be paid for super, and vice versa. You can easily modify these by clicking the "Edit" button in the Details section of the page.
Rates
The rates are simply the amount users are paid per unit. The Rates section of the main invoice page details the current rate types for the invoice, and breaks down any associated cost rates. You can make changes to these using the Edit button, which will allow you to override any of the rates, plus also add more rate types. If you clear any of the values, it will simply revert to the data from the ratecard.
The rate types themselves (and their associated costs) are defined in the "Rates" module, located under finance. Note that both rate types and cost types can define whether they pay tax, super and penalty rates.
Rate Multipliers
Rate multipliers can be applied to change the rates for any given day of the invoice. By default, the invoice will apply weekend penalty rates for Saturdays and Sundays. These rates can be modified on the invoice itself, but also on a worker's rate card, and globally in the finance configuration.
You are also able to manually change the rate multiplier for any day by clicking the Edit button from the Rates section. The multipliers page lists the rates for each day, along with a type. The type is a dropdown containing the following options:
- Penalty: The default for weekend rates. Applies only to rate types and costs which have penalty rates enabled.
- Overall: Applies to all rate types and costs
Regardless of the type, multipliers are applied directly to the subtotal, before any tax or super calculations are made.
Reconciliation Guide
Building the CSV Spreadsheet Guide:
Example CSV structure:
Columns:
- Date
- must be in first column and labeled “Date”
- Username
- This is the users Australia post username, this is set via the Aus post options. Column title must be Username
- Reconciliation Names
- 3 and onwards are for setting the rate types to be tracked
- This is done by the reconciliation name
- This is set via the rate types, these need to match exactly (case sensitive)

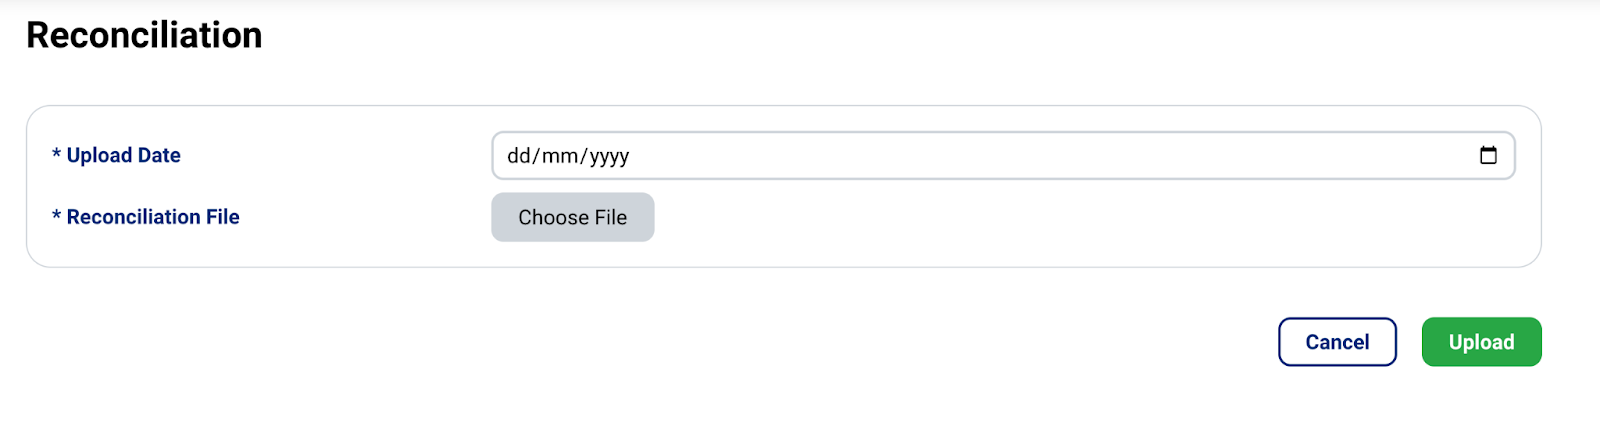
Once the reconciliation sheet has been setup and the backend of the reconciliations linked through you can then upload the csv file via:
https://domain.com/workforce/check-ins/reconciliation/2023-03-23 and create:
This will run the import and return any errors or issues found during the upload, it will check for things like:
- Wrong username
- Bad date format or missing data
- Bad reconciliation name
Final rules:
- A user can have one reconciliation per day, meaning all of their data needs to be uploaded inside the same spreadsheet.
- Example:
- User 1 works in delivery & packing, both of these need to be in the same row on the spreadsheet, they can't be done separately.
- The reason it was done this way is if you need to add or remove reconciliation data for a user, i think there would have been more issues if it was additive.
Other notes:
- You can do multiple dates for the same person, ie a reconciliation could be done at the end of the week for all days worked. Example:
Building the CSV Spreadsheet Guide: